Something happened this weekend that I feel a desperate need to share with you.
The closet in our bedroom got sick... and threw up all over my house.
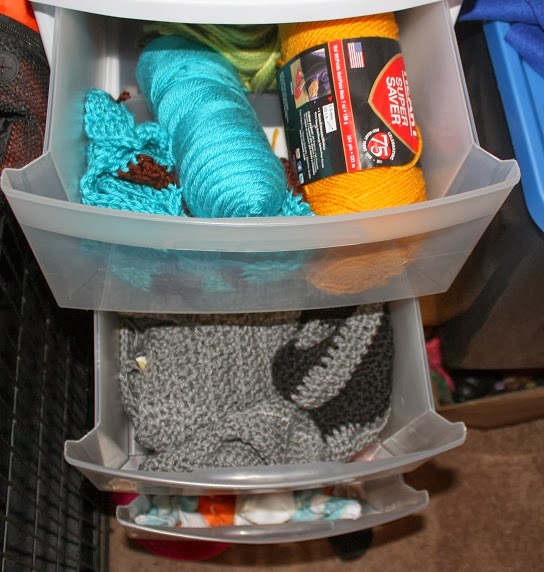
Not that bad? Well, this is a fraction of the overall mess. What is worse is that this went down on Sunday, and now it's Wednesday and I haven't made any progress in sorting through my clothes.
It's
long past time that I did a complete overhaul on my wardrobe, but it's such a huge, overwhelming task that I hesitate to begin.
I don't know how!
Then like an angel sent to me from above, I found
Laura's 31 Day to Organized Closets. Just stumbled upon it like a woman lost in the desert stumbles upon a truck carrying gallons of cold Aquafina. (Sorry, that's the only way I could make you understand!)
Taking advice from her challenge, I was able to finish up the re-do part of my closet and come up with a plan to begin tackling the sorting process that comes next!
So let's back up. My clothing situation has been pulling at me for over a month now. I've been throwing clothes everywhere. During one innocent trip to Wal-Mart, I picked up this $9 hanging shelf thingy in an effort to try and tame the situation. When I got home, I was excited to hang it up and get started, only to discover that crap was piled so high on the floor of my closet that the shelf couldn't hang all the way down! It was kind of like trying to paint over a hole in the wall. It just was not. going. to. work.
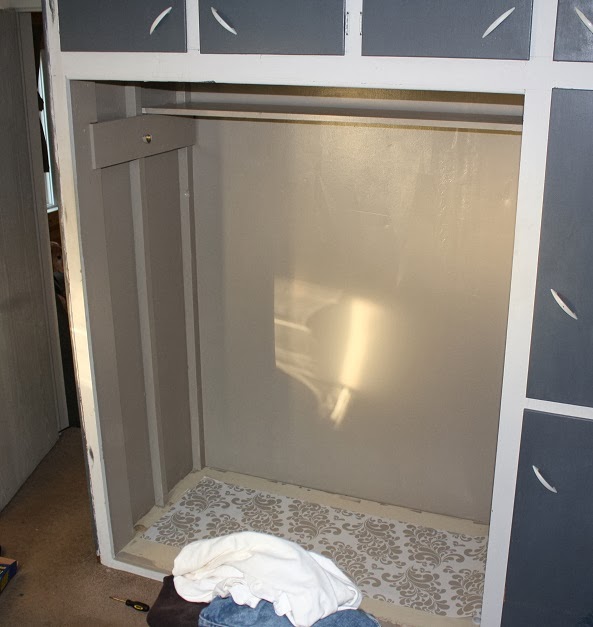
The purging of my belongings from the very tiny space that is our closet held no rhyme or reason. I grabbed everything I could wrap my arms around and hauled it out of the bedroom. Here is what it looked like free of, well, everything. Except the hangy thing that started it all.
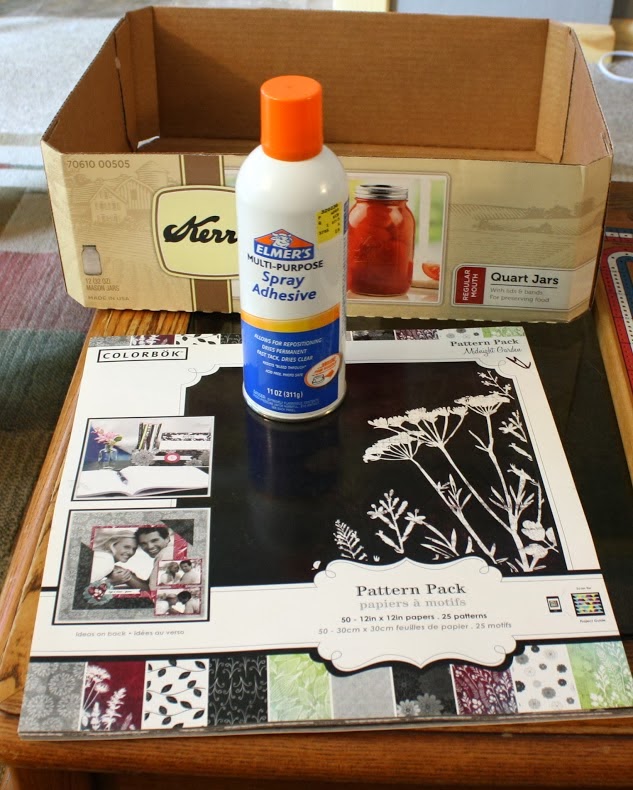
I hauled out the same paint and adhesive paper that I used for my
Scary Kitchen Sink project and went to work. Two coats of paint later, this is what I had.
The paper was only rolled out by this point so I could decide if I was actually going to use it. I did end up using it, last night after deciding it was time to get my butt in gear. Which means that it's been sitting just like this... since Sunday.
There is one little piece of awesomeness from all of this chaos. There was finally enough of the paint gone that I could ditch the gross, drippy paint can and replace it with a mason jar.
Oh mason jar, how I love thee...


